
If you’ve ever found yourself searching for comfy, functional accessories that actually fit your lifestyle, making your own athleisure accessories can be an awesome project. It gives you the freedom to create gear that feels just right for you, and it can save you a few bucks while often leading to cool, one-of-a-kind looks. I’m going to break down the basics of getting started on DIY athleisure accessories, from what you’ll need, to some beginner-friendly ideas, and what stuff to keep in mind before you start buying piles of fabric and supplies.
Key Supplies for DIY Athleisure Accessories
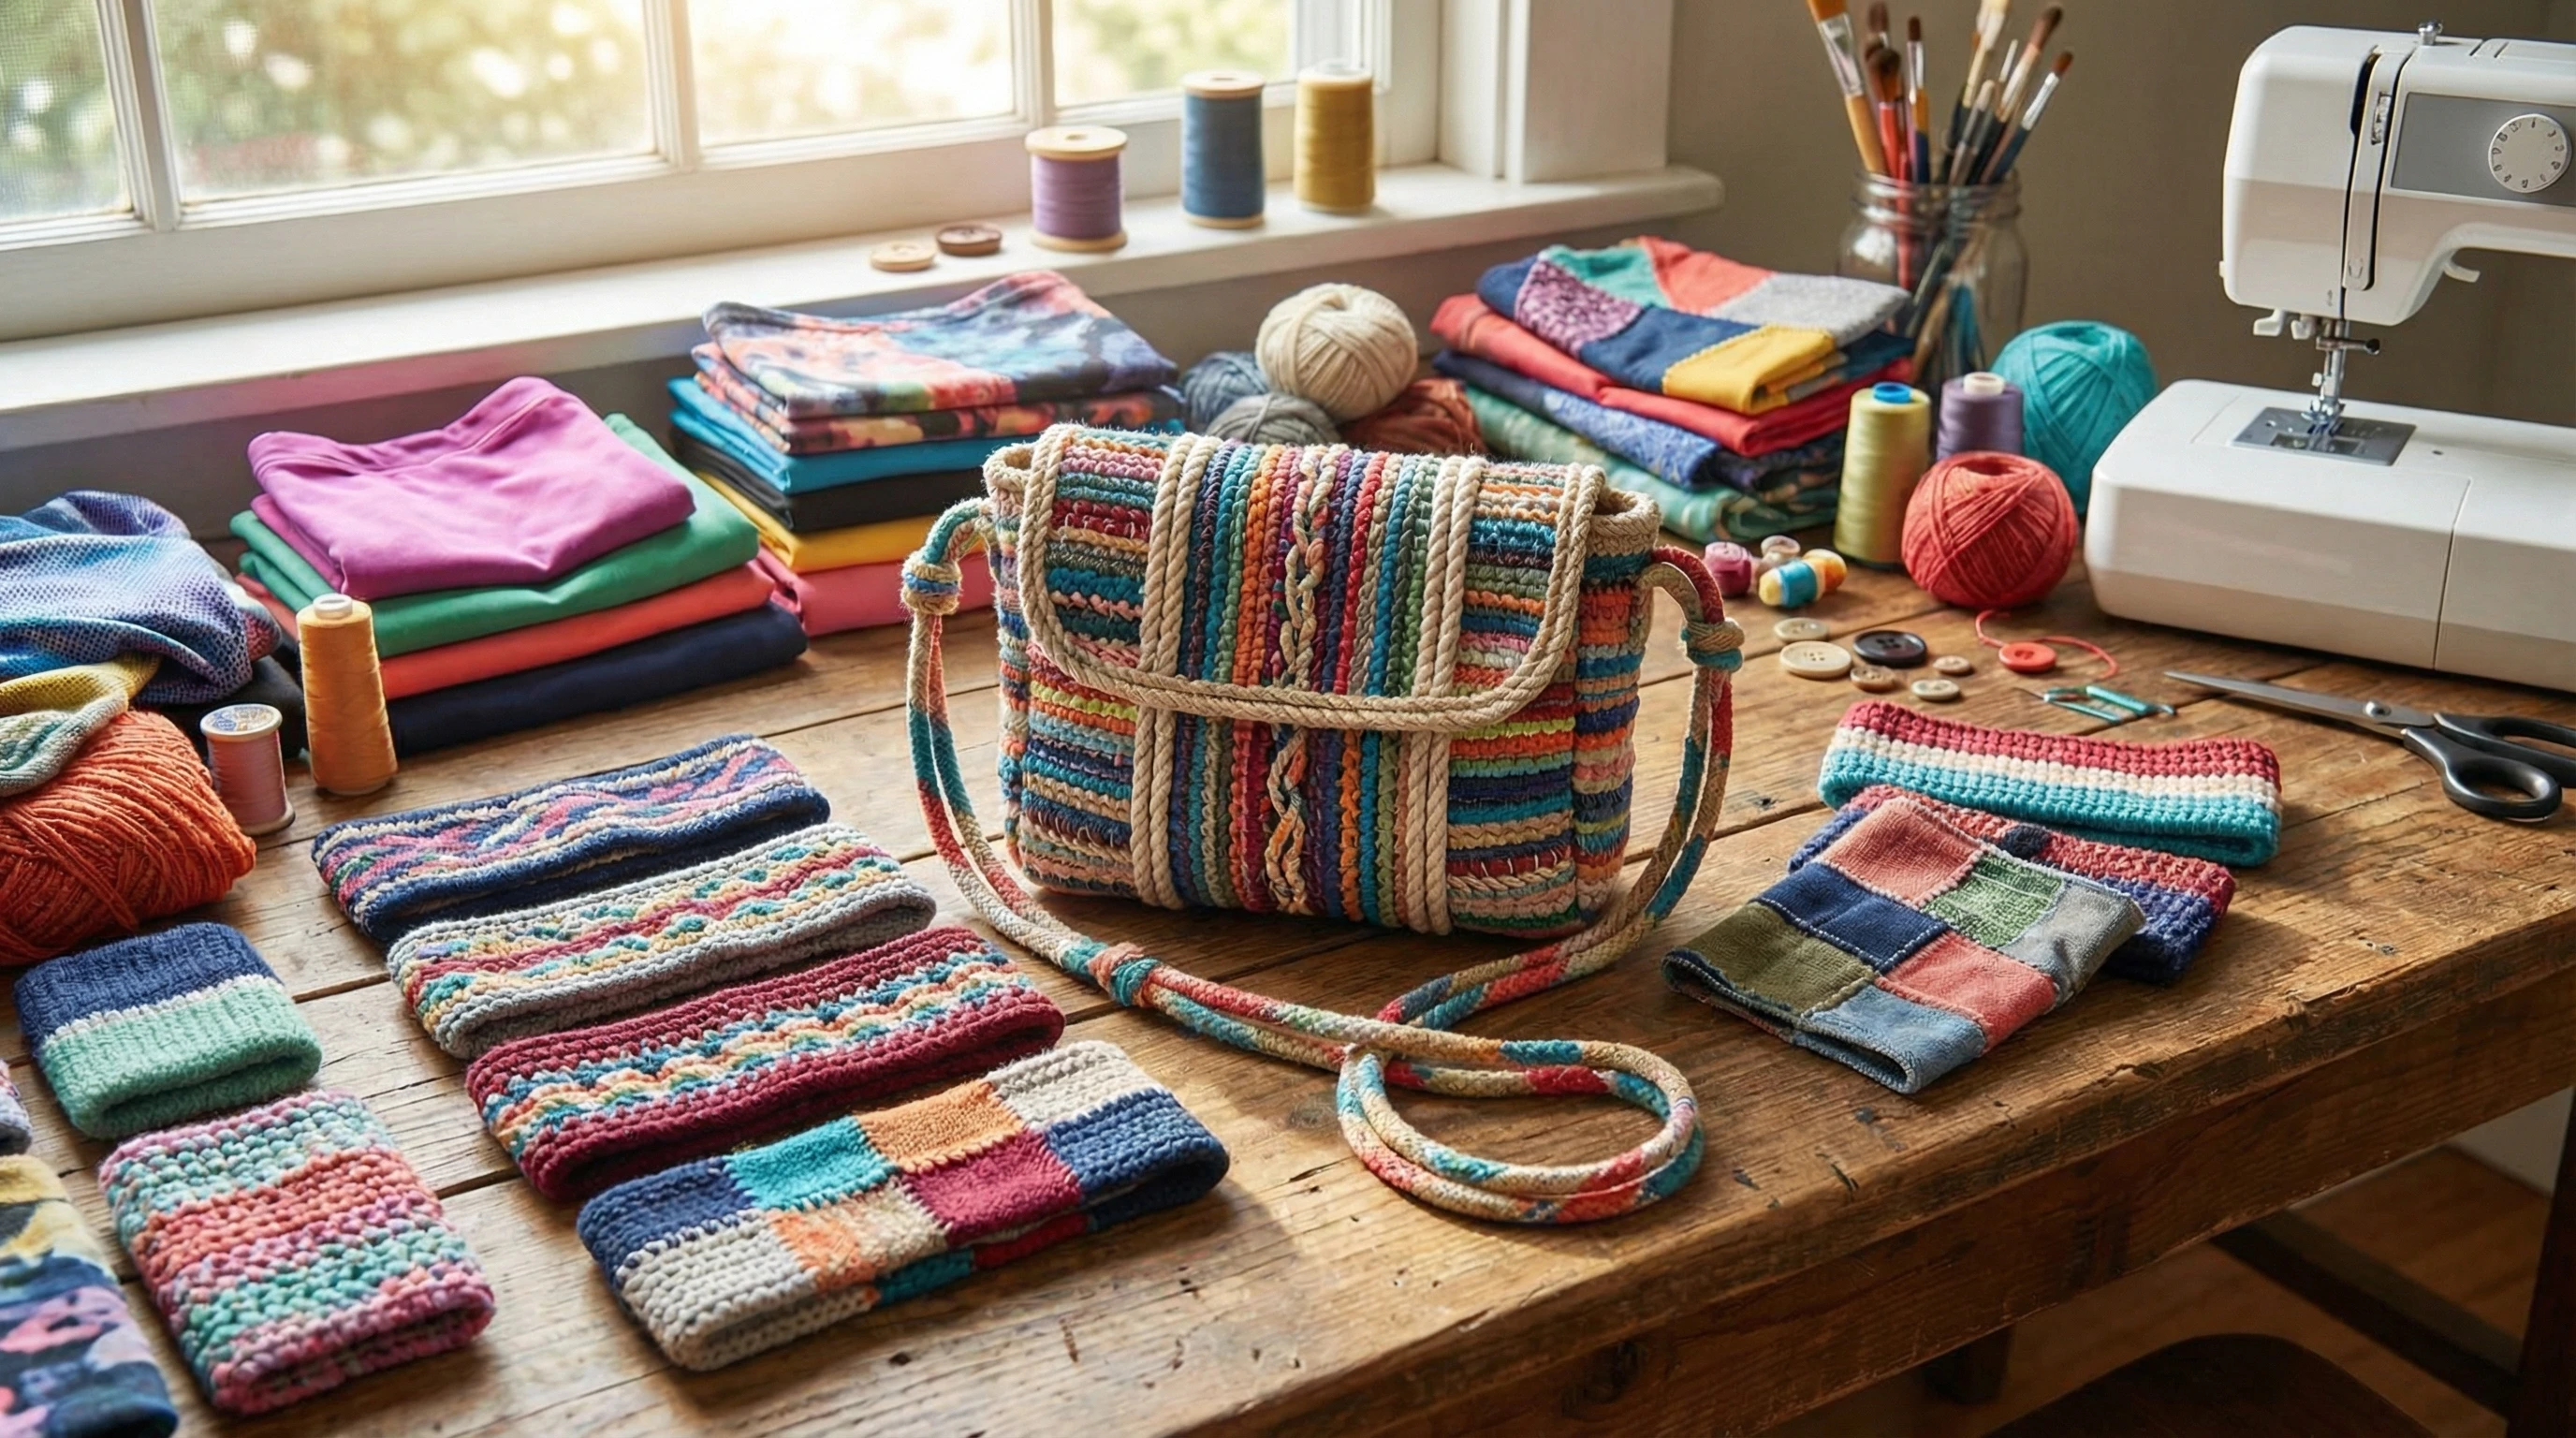
One of the best things about making your own athleisure accessories is that you really don’t need a fancy setup to start. Most of the items you’ll make, like headbands, wristbands, pouches, and gym bags, only need some basic gear and materials. Picking quality supplies is pretty important since these accessories need to keep up through sweat sessions, errands, and everything else you throw their way.
In recent years, the at-home sewing and crafting scene has shot up. More people want custom pieces and sustainable options, so there’s way more choice for specialty athletic fabrics and even no-sew options if you’re not ready for a sewing machine.
Here are the basics I keep on hand before I start a new project:
- Stretchy Athletic Fabric: Look for moisture-wicking knit fabrics, mesh, jersey, or recycled poly blends.
- Sewing Machine or Fabric Glue: A basic machine is super handy, but high-quality fabric glue or iron-on tape can work for no-sew crafts.
- Elastic Bands: For waistbands, ponytail holders, wristbands, etc.
- Velcro or Zippers: These give your pouches and bags a secure, sporty finish.
- Snaps, D-rings, or Cord Locks: Details like these turn plain projects into handy, adjustable accessories.
- Thread, Needles, and Scissors: Nothing fancy, just sturdy enough to handle athletic material.
Sourcing good fabric is actually a fun part. Lots of online sellers now stock performance textiles, and local craft stores sometimes have remnant bins full of hidden gems.
Easy DIY Projects to Kick Things Off
Starting with some beginner level accessories is a smart way to get familiar with these materials and see what works for your wardrobe. Here are some of my favorite easy projects that bring immediate value and style:
- Headbands: A couple of strips of stretchy fabric, sewn or glued, become headbands that will actually stay in place.
- Wristbands: Narrow pieces of moisture-wicking knit fabric make great sweat wipers, plus they’re easy to match to your outfits.
- Drawstring Bags: A single rectangle of mesh or knit fabric, some cord, and cord locks make for a super practical gym or yoga bag.
- Zippered Pouches or Phone Holders: These are perfect for the gym, hikes, or just quick errands. Add a sweat-resistant lining for bonus points.
- Shoe Bags: Handy for stashing dirty sneakers post workout, these use similar construction to the drawstring bag.
Patterns for these items are everywhere online for free or cheap, and most can be adjusted for any size or style. I love tweaking projects by adding a pop of color, reflective stripes for late night runs, or extra pockets for keys and cards.
Step-by-Step: Making a Simple Athletic Headband
Nothing beats a quick win. Here’s how I turn a piece of leftover, stretchy fabric into a custom fit headband in just a few minutes. It’s the kind that stays put during runs, yoga, or a sweaty home workout.
- Measure and Cut: Cut a strip of knit or jersey fabric, around 18 to 20 inches by 4 inches (for most adults).
- Fold and Sew: Fold the fabric lengthwise (right sides together). Sew along the long edge, forming a tube.
- Turn and Close: Turn the tube right side out, then tuck the raw ends in and sew them closed. I sometimes overlap them for a wider band or knot style.
- Customize: Add decorative stitching, heat-transfer vinyl, or a reflective patch to make it uniquely yours.
There you go; personalized, comfy headbands made using scrap fabric, with no more annoying slip downs!
Things to Think About Before Buying Supplies
It’s really easy to get caught up buying lots of supplies and end up realizing you didn’t need half of them. Here’s what I keep in mind so I don’t end up with a drawer full of unused notions:
- Fabric Type: Stick to performance knits or mesh for items that deal with sweat. Cotton blends can sometimes work for casual wear, but stretch and moisture wicking really matter for anything you wear during activity.
- Tools and Skill Level: If you’re brand new, starting with no sew projects or quick hand sewn pieces is less frustrating than going straight to complex patterns.
- Budget: It helps to reuse or upcycle stuff you already have. Old leggings become new accessories super easily.
- Use Case: Think about when and where you’re likely to use each accessory. I’ve found that brightly colored or reflective materials work better for running, while muted tones blend in for low key errands.
Choosing the Right Fabrics
Good fabric is the thing that makes DIY athleisure a pleasure instead of a pain. I usually go for:
- Moisture wicking poly blends for sweatier workouts
- Spandex knits for headbands and wristbands. They bounce back to shape and don’t bag out
- Easy to clean mesh for anything that needs ventilation (like shoe bags or gym totes)
Some stores sell specialty activewear remnants that are perfect for small projects. If you have old or thrifted shirts and leggings, those can be cut up and given a second life as well.
Practical Tips Before You Start
There are a few things I’ve learned the hard way while getting into home crafting for athleisure:
- Prewash your fabric to get rid of any shrinkage or dye bleeding problems.
- Try a test stitch or glue patch on a scrap, just to see how the fabric handles it.
- Don’t forget about closures; they can turn a simple pouch into something really useful and secure.
- Upcycle before you buy. An old hoodie or pair of leggings can provide plenty of fabric for headbands, wristlets, or storage bags.
Next Level Athleisure Accessory Ideas
When you’re comfortable with the basics, it’s easy to take it up a notch by adding more features, using different fabrics, or mixing in some tech. Here’s where I like to try new ideas:
Phone Arm Bands: These aren’t hard to create if you use sturdy elastic and a sweat proof lining. They are awesome for jogs or gym workouts.
Custom Belt Bags or Fanny Packs: With a simple zipper and some durable fabric, you can pull together a minimal, yet super functional, bag for errands or walks.
Insulated Water Bottle Holders: Grab some neoprene or insulated lining, add a strap, and you’ll have a water bottle holder better than anything you find in stores.
I find that adding reflective tape or fabric paint gives these accessories a nice safety boost for nighttime activities. You can even work in RFID blocking fabric for small card pouches if you’re worried about electronic pickpocketing.
Quick Reference: Athleisure Accessory Patterns to Know
Different accessories require different basic shapes and finishing details. These patterns and shapes come up most often:
- Rectangles: Used for headbands, wristbands, and drawstring pouches.
- Circular or Oval: Elbow or knee guards, or uniquely shaped zip pouches.
- L Shapes or Triangles: Sometimes used in crossbody bags or phone holsters.
- Envelopes: Handy for fold over pouches or snap closure holders.
Starting with these shapes lets you quickly adjust a pattern for different sizes and uses. There’s a huge number of video tutorials and step by steps online if you want guidance with your first few makes, and they’re usually free or low cost.
Frequently Asked Questions
Everyone hits a roadblock while crafting now and then. Here are a few things people commonly ask when starting with DIY athleisure accessories:
Question: Can I really make athletic accessories that are durable?
Answer: Yep! The key is using quality materials and making sure seams or closures are reinforced. Try double-stitching or using strong fabric glue.
Question: Are there no sew options for most items?
Answer: For headbands, wristbands, and even some bags, you can use iron-on tape, high-strength fabric glue, or strategically tied knots.
Question: How can I personalize my accessories?
Answer: Heat transfer vinyl, fabric paint, patches, and reflective strips are fun ways to make each piece unique and visible.
Wrapping Up
Making your own athleisure accessories is seriously rewarding, not just for your closet but for your confidence in learning new creative skills. Whether you’re into practical headbands, customized gym bags, or unique handmade wristlets, a little time and a handful of basic supplies can go a long way. Give it a try with some leftover fabric or upcycled sportswear, and you’ll probably end up with accessories you reach for daily.
If you want more ideas or tips, browsing online crafting groups and video tutorials can be super useful for picking up new tricks and getting inspired by what other makers are doing. There’s definitely something great about rocking gear you made yourself, perfectly suited for your own active routine.
Please feel free to leave a comment, share your expertise, give tips or ask a question.